Tile Install Experts Bentonville
High Quality Materials
|
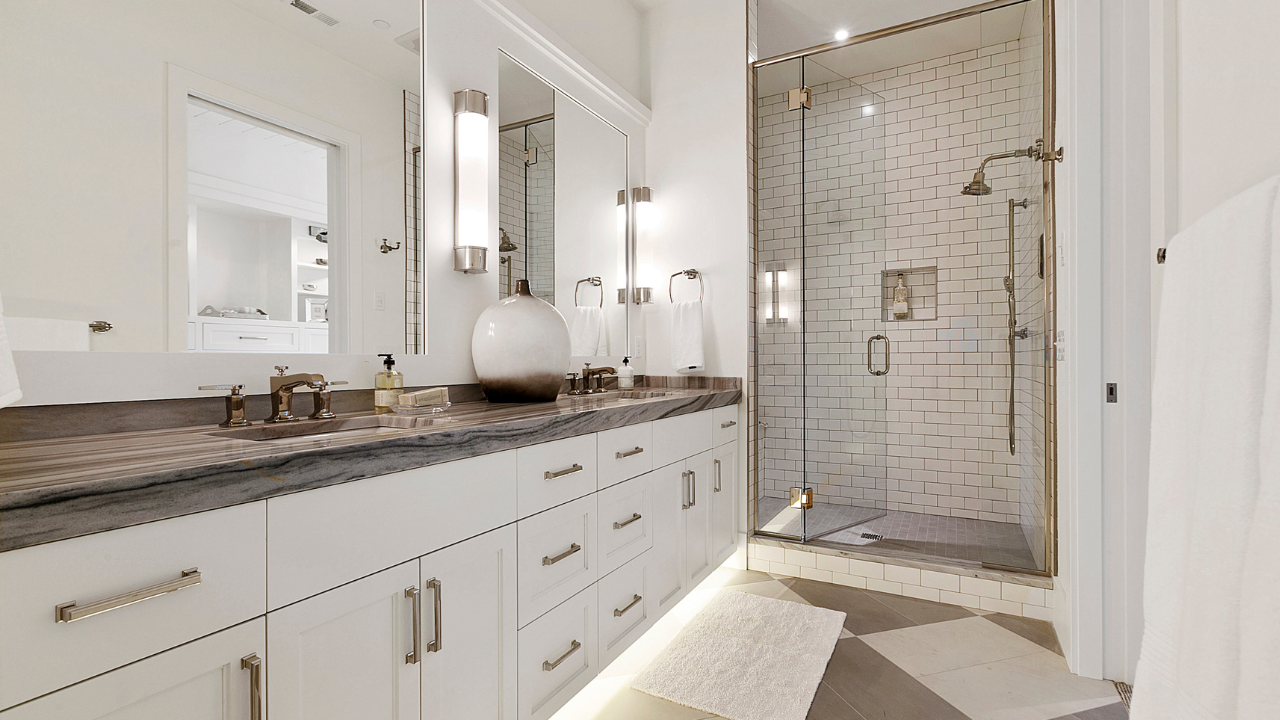
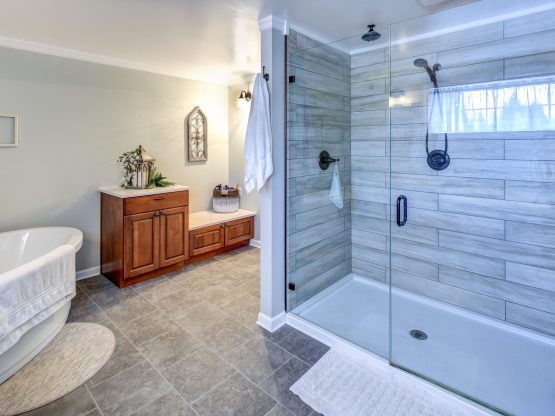
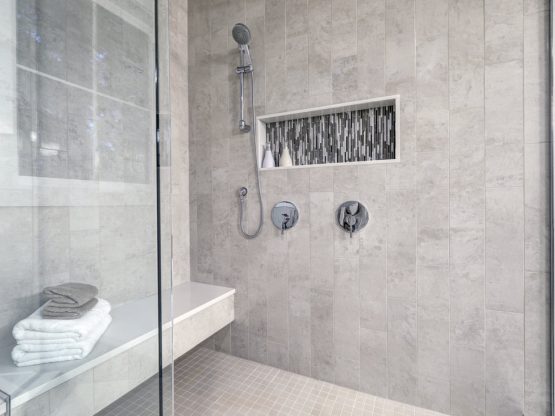
One Of Our Bathroom Projects
|
Tile Instalation Bentonville AR
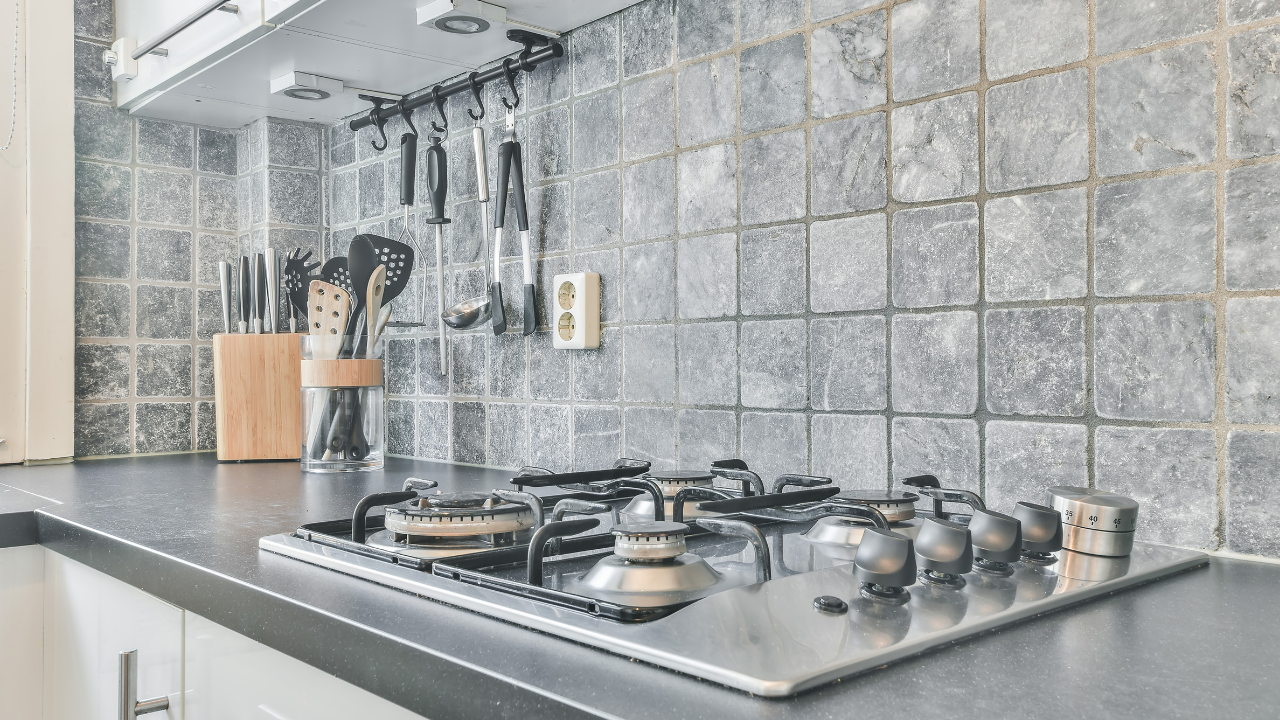
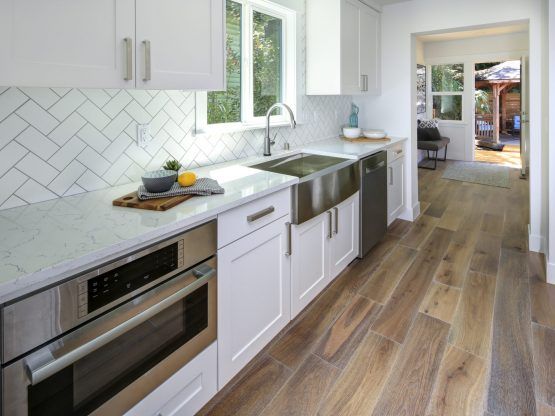
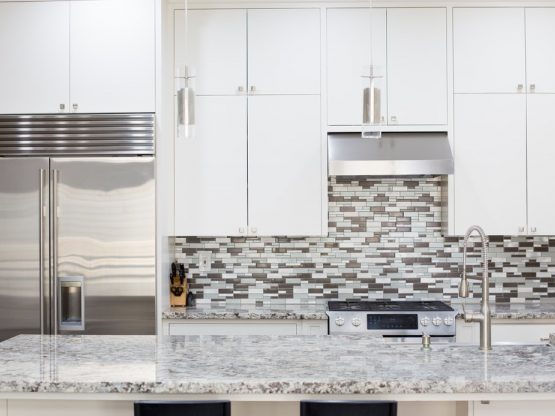
Kitchen Tile INstallationFrom Kitchen Backsplash Installation to gorgeous tile flooring for your kitchen! Call today for a free quote. |
Bathroom Tile Installation Shower tile installation, small half baths, to oversized master bathrooms! We install with the same finesse no matter the size. |
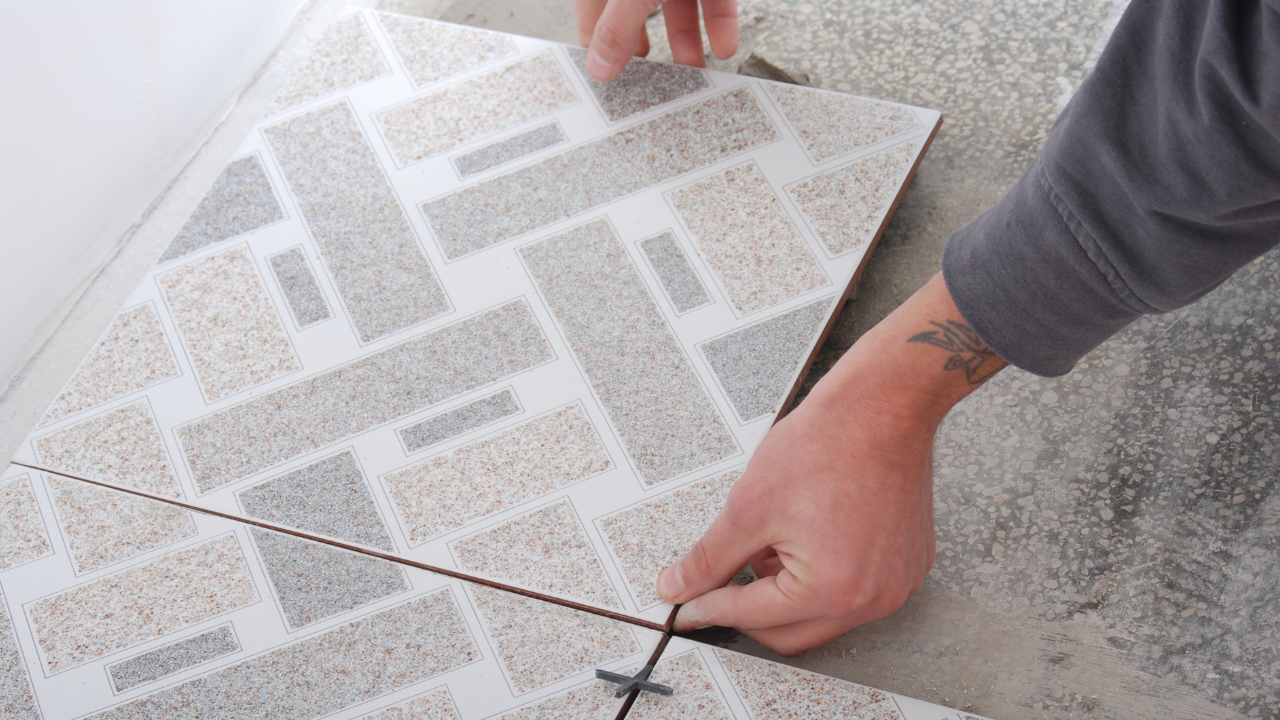
Flooring Tile InstallationFloor tile installation done right! Best quality materials and expert tile layers makes for great tile floor results. |
Tile Services Bentonville
Thanks for visiting our website! We are experts at tile installations, including floors, interior rooms, and walls. Our experienced team of installers is used to working with a wide range of materials. Our business is locally owned and operated, serving Bentonville and surrounding areas, providing jobs, and keeping your money in your community.
We love tile, period! There is no doubt that tile flooring, walls, and backsplashes create a lasting and cohesive appearance throughout your home. WE OFFER EVERY SERVICE AVAILABLE WHEN IT COMES TO TILE CRAFTING IN HOMES. WE PROVIDE REMOVAL, WHICH IS OPTIMAL FOR CHIPPED OR BROKEN TILES, COMPLETE FLOORING, BATHROOM TILE, BACKSPLASH INSTALLATION IN BENTONVILLE AND MORE. EXPLORE EACH OF OUR SERVICES BELOW:
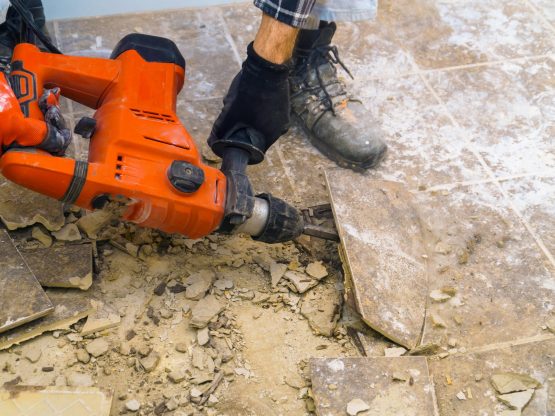
Tile Removal BentonvilleSometimes that's the first step in re-flooring your home. We offer clean and dust-free tile removal on your floors, walls, or backsplash. You can be confident that the removal is complete and ready for its new flooring, no matter if that's new tile, carpet, or wood.
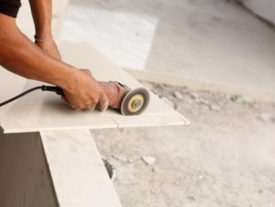
Removing tile isn't something you should do yourself! Specific tools and equipment are needed, and certain steps are followed to ensure there is no damage to your home. Tile installation is arduous work and involves multiple hours of kneeling and leaning. Our expert and experienced staff know how to work efficiently and accurately. Understanding how to measure and cut is essential to lay the tile perfectly before anything is made permanent. Even more, a reason to hire professionals to do it! Our tile services are unmatched throughout the Bentonville area regarding efficiency and quality. |
Tile Installation BentonvilleTile installation is arduous work and involves multiple hours of kneeling and leaning. Our expert and experienced staff here at Bentonville Tile know how to work efficiently and accurately. Understanding how to measure and cut is essential to lay the tile perfectly before anything is made permanent. Even more, a reason to hire professionals to do it! Our tile services are unmatched throughout the Bentonville area regarding efficiency and quality.
|
Floor TilE BentonvilleTile flooring lasts for years and is truly the most durable option available for your home. It is low maintenance and one of the least expensive flooring options for homeowners. We provide service through Bentonville and surrounding areas to supply a boost in resale value. Installing tile requires acute attention to detail, and we guarantee professional results.
Homeowners who are looking to put additional value into their homes and improve their in-home air quality choose tile flooring. Tile floor installation requires extreme attention to detail, and we guarantee you will receive nothing but professional results from our services. Today's homeowners are choosing tile as an option to improve the air quality of their homes and increase their resale value. Tile floor installation takes a few extra days to install, but the trade-off is worth it in terms of cleanliness and value. As professionals, we work quickly using 'dust-free' methods and continually update measurements to give you the exact fit your home needs. In Bentonville significantly, homeowners benefit from tile flooring as it helps reduce air conditioning costs, as the tile helps keep the home cooler during the summer months. |
Bathroom Tile BentonvilleYour bathroom will never smell musty again! Unlike wood or laminate, bathroom tile doesn't hold moisture. It protects your home from the constant bombardment of humidity from your bath and shower, protecting it from costly mishaps that can spread into other parts of your house. Bentonville homeowners are all changing to tile flooring for this very reason. Your bathroom tile now includes tiled walls and backsplash behind your vanity or counters and can even extend to a fully tiled shower. High-end tiles can change the entire appearance of your bathroom and give it a dramatic and expensive look, giving it an all-over feel of luxury. Whole renovated bathrooms can give your bathroom a luxurious spa feeling.
|
Kitchen Tile BentonvilleAfter our nation's experiences with Covid, we want to clean and sanitize our kitchens to the best of our abilities. People often use laminate or wood flooring because it looks cleaner, but discount that kitchen tiles are the most accessible flooring to keep clean! At Bentonville Tile we offer kitchen tile installation services that include flooring tile, counters, and backsplash installation making your entire kitchen the most accessible place to sanitize in your home. Homeowners that choose tile know that it's imperative to keep the kitchen clean and sanitary, especially in cooking and food preparation spaces. Tile is hands down the most accessible cleaning surface available.
|
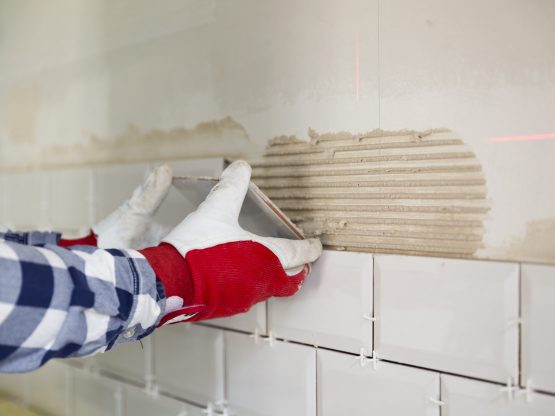
Kitchen Backsplash Tile BentonvilleTile backsplashes are an extension of your countertops and protect your walls from damage from water and unintentional splashes of food and oil. At Bentonville Tile we understand a backsplash helps make your kitchen a safer cooking environment. All backsplashes should be tile as it offers the most protection to your kitchen walls, including preventing costly kitchen fires due to oil and grease buildup. Additional splashes from stirring food or too much 'flair' on the stove can leave unprotected walls with dangerous residue and bacteria. Tile is the most accessible surface to clean and keeps your kitchen safe and germ-free.
|
Shower Tile Installation BENTONVILLEDoing shower tile yourself is disastrous and should always be done by licensed professionals. Our tile installation team is experienced in working with wet conditions and knows how to best tile your shower to prevent leaks, tile sliding, and more. We often advise using slip-resistant tiling for the floor with a fantastic glass or stone tile for the walls for a pleasant natural look or using accent tile to bring out the uniqueness of your home. We can help you create your dream shower, whatever the look you are searching for.
|
Tile Installation Process
Some homeowners try to install tile on their own but rarely can finish the job – not to mention all the disastrous problems of following a DIY installation. Leaks, crooked tiles, sliding tiles, and jagged corners are just a few mishaps regularly found in work homeowners have done themselves. That's why it's imperative to have experienced professionals install your tile. Installing tile is not a do-it-yourself project and requires days to complete with complete knowledge of materials and a strict eye for detail. Our expert staff works with diligence to ensure professional and high-quality results. We have gone through the installation process for so many years that it feels like second nature. We understand homeowners want access to their house as soon as possible and want their tile installation done right! |
Step 1: Preparation
If there is flooring in place, such as previous tile or carpeting, then removal is necessary. Once the subfloor is available, the existing surface must go through a few preparations before anyone can start measuring or laying tile.
First, the surface needs to be free of any debris and can’t have any imperfections. We solve faults using a waterproof patching compound, and in some cases will need to install a subfloor to ensure that it’s at least 1.5-inches thick. After we resolve any imperfections in the subfloor, we make sure the surface is completely clean.
Step 2: Layout
After the floor is clean and as perfect as possible, we’ll get to work laying the floor. Most people refer to the entire installation process as ‘laying’ tile, but it’s only one of the many steps. To layout the tile, our team carefully measures the tile out, cutting squares to fit the room perfectly. We ensure that we don’t use the center of tiles after cutting as the manufacturer’s edges have more reinforcement, are more durable and generally look cleaner. Although our staff has years of professional tile experience, we still snap chalk lines to keep consistent 90-degree angles at each intersection.
The layout process is one of the most manual steps as it’s a constant job of surveying the layout to ensure that everything is consistent. It’s also the last opportunity for us to spot any mistakes without having to remove tiles later.
Step 3: Mortar Mixing
We mix our mortar in moderate batches to match the amount of work our team can accomplish in any thirty-minute stretch. As we’re mixing mortar, we take great care to ensure the strength is appropriate for the type of tile and consistent across the entire project.
Step 4: Apply the Mortar
Applying the mortar, like nearly every other step of tiling, leaves no room for error. The mortar mixture must go against the flat side of the trowel, and then using the notched trowel, apply at specifically a 45-degree angle. The mortar must be uniform. The mortar height must be consistent across the entire project.
Step 5: Installation
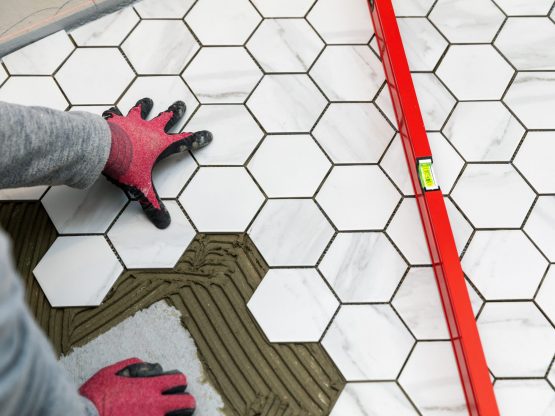
Finally, the tile is going down against the subfloor and creating the new floor of the home. Pressing down into the freshly spread mortar, the tile requires a slight twist motion and slight pressure application. We install each tile with care to guarantee that the results are outstanding every time. After installation, we let the mortar dry for at least 24 hours.
Step 6: Grout Tiles
When grouting the tile, the consistency should be smooth but thick. Grout mixing requires a bit more attention that mixing the mortar as the final color will be visible to anyone who enters the home. When mixing the grout, the pigment must be consistent throughout the project, and it must be made in small batches. The more care put into grouting the tiles, the easer the cleanup and overall the cleaner the tile will look upon completion.
Step 7: Sealant
Some consider this step optional; however, about 72 hours after applying and cleaning up the grout, we seal the grout. Sealant reduces the likelihood of water to seep under the tile over time and can help keep the color of the grout even as it ages.
Types of TileThere are many different types of tile available, and we can work with any homeowner to find the tile that will best suit their needs. Selecting the right tile can be overwhelming, but we can help give tips and advice on the various types of materials used for different spaces in your home, and what would be best suited. Based on your budget you can opt for some great durable types of tile, as well as some higher-end decorative tile. These types of tile below are the most common that we have worked with.
|
– Saltillo Tile
This beautiful Mexican tile has a quality that is rustic, traditional, and has a hand-crafted timeless look that many homeowners in Southern California love. We work with saltillo tile a lot, and have installed countless square feet of living spaces, entryways, kitchens, and more with the warm colors of saltillo tile.
– Ceramic Tile
Without a doubt, ceramic tile is the most popular type of tile when it comes to tile flooring. It’s available in a massive range of sizes, colors, patterns and event different textures and shapes. Ceramic tiles come from clay materials. Concerning non-porcelain tile, they are one of the most economical tiling options.
The pros of ceramic tile include that It’s reasonably priced, durable and low-maintenance. The only downside to ceramic tile is that it’s not as resistant to water as porcelain tile.
– Porcelain Tile
Porcelain tiles are technically a type of ceramic tile, but they’re slightly more expensive. In exchange for a higher price tag, they have far fewer impurities, are denser, and even less porous. We typically prefer porcelain tiles when homeowners want something that is completely water resistant and more durable.
– Quartzite
A durable and non-slip option that is wonderful for shower and bathroom floors. Quartzite is also a great option for driveways and pathways around swimming pools. When crystallized and sealed, Quartzite can look like marble.
– Glass Tile
Glass tile can make a room appear larger and keep rooms brighter. It’s notoriously versatile and usually stars in kitchen backsplashes, and shower walls.
Glass tiles are easy to shape, and they finish marvelously. There’s never a dull sheen to glass tile making it a great choice for smaller rooms.
– Travertine Tile
Travertine comes in waves of popularity because of the natural element it brings into any home. As a naturally porous stone, it’s not ideal for kitchens. However, it can recreate a spa environment in any bathroom. Travertine is limestone which occurs naturally near hot springs and in caves. The texture comes from organic matter and air bubbles, this is one of the most durable types of tile.
– Stone Tile
Stone tiles are increasing in popularity, and we see their use expand in the San Diego area. Although there are only a few different textures available in the marketplace, there are a wide variety of natural hues including off-whites, blues, greens, and even red. Stone tiles do require more maintenance and are not water resistant.
– Slate Tile
Slate tile is a metamorphic rock collected and then cut into shape. The color palettes are always deep and rich but typically range between bark blues and greens, but occasionally feature a red, copper, black or tan appearance. As a fine-grained tile option, it’s great for both indoor and outdoor use. We see slate tile appear in bathrooms as well as around fireplaces!
– Marble Tile
Marble tiles are exceptionally durable and available in a wide range of colors. Marble can be finished, honed, tumbled, polished or even brushed to achieve more unique textures and appearances. Marble shines through as a versatile flooring option for any room.
|
BENTONVILLE TILE SERVICE
|
©2022 – All Rights Reserved |
